
A Prospect in DigitalTenant is a potential tenant you want to track before they become an active renter. This guide walks you through adding a new prospect using the step-by-step wizard, covering all contact, emergency, dependent, pet, and vehicle information.
Before You Start
- You must be logged into your DigitalTenant account.
- Have the prospect's basic contact information ready — email, phone, and address.
- If you plan to link them to a property, make sure that property already exists in the system.
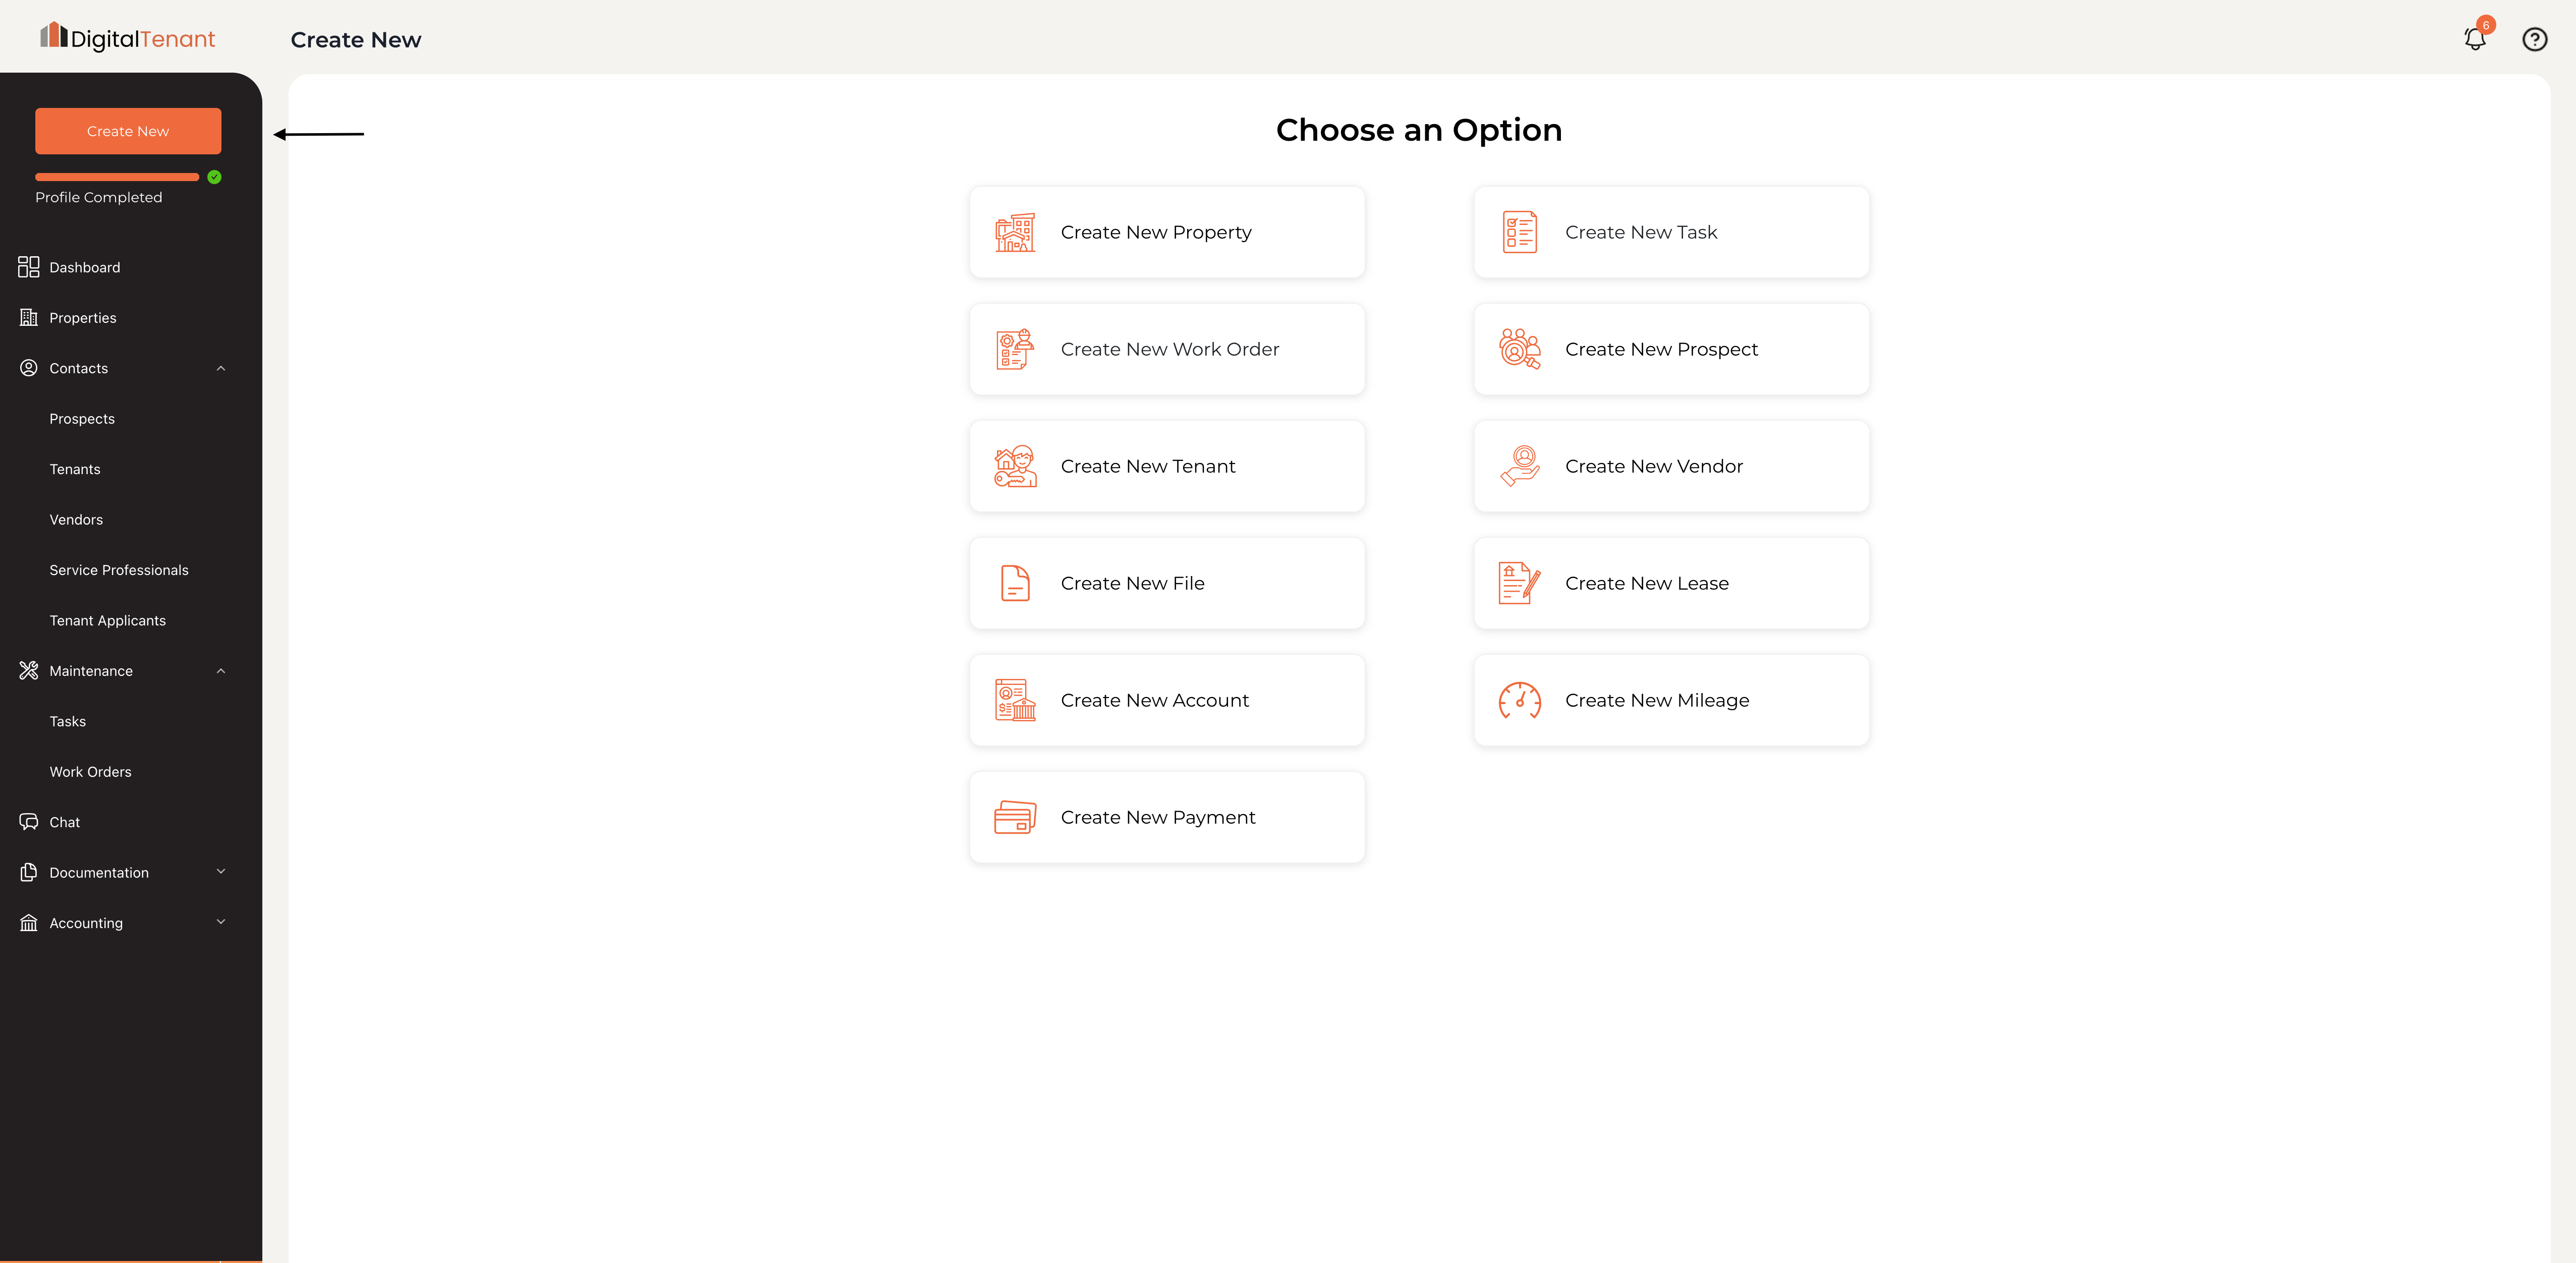
1. Click Create New
From your Dashboard, click the Create New button in the top-left corner of the sidebar. A menu will appear with all the record types you can create.
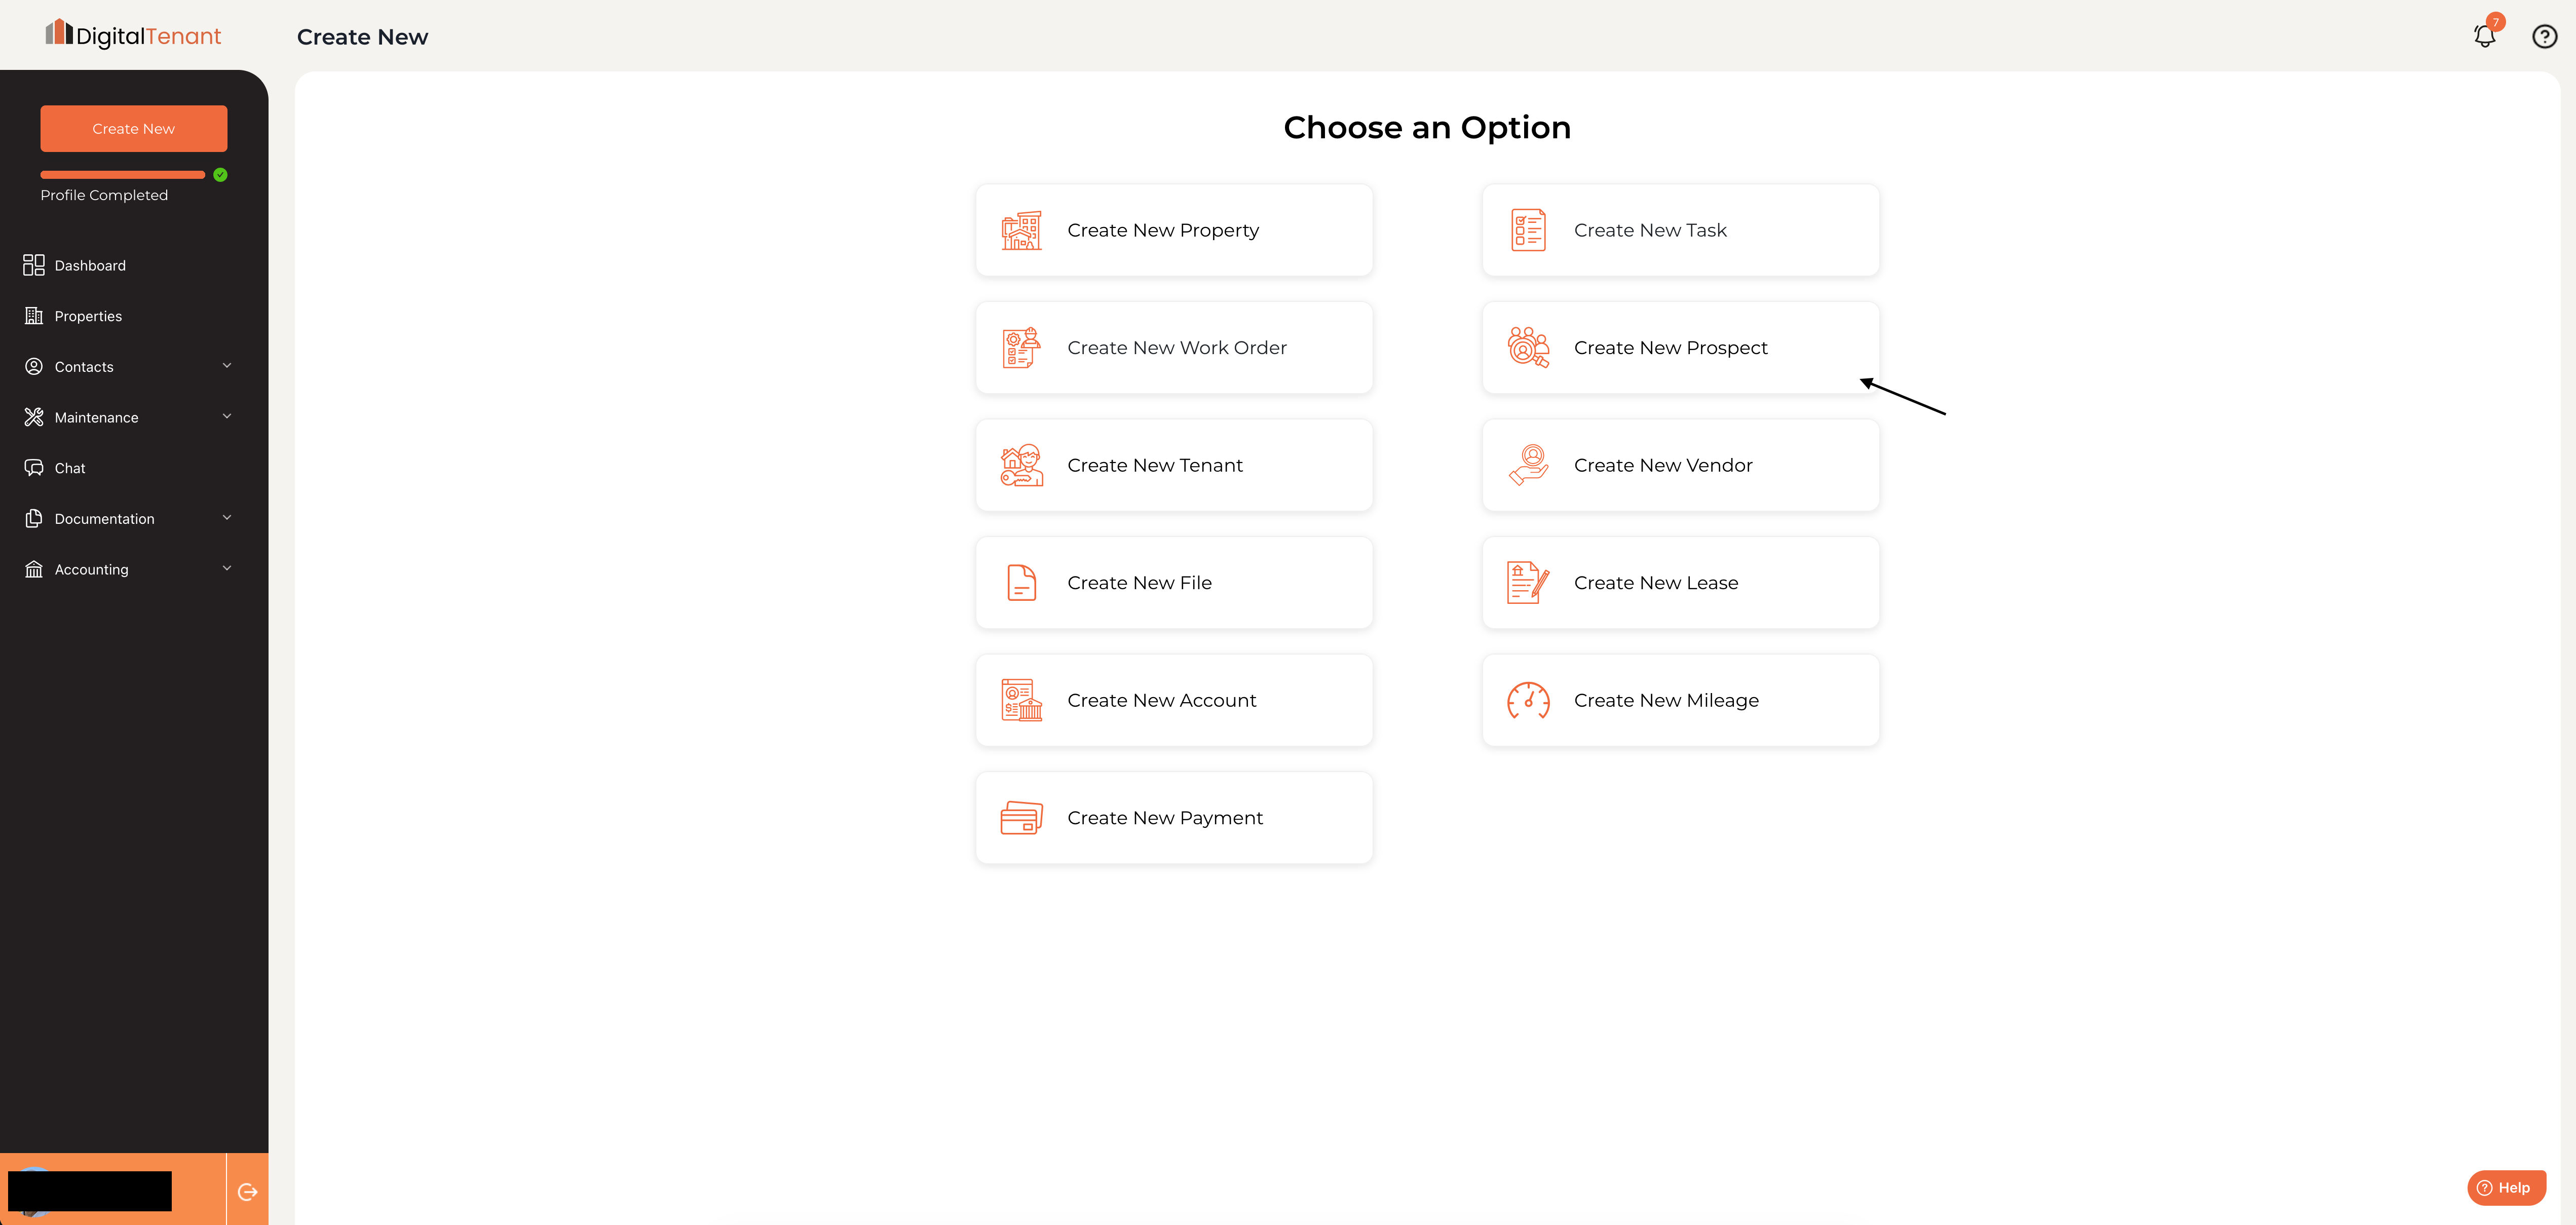
2. Select Create New Prospect
From the Choose an Option menu, click Create New Prospect. This opens the Add Prospect Details wizard.
💡 A Prospect is different from a Tenant. Use Prospect for someone who is interested but hasn't signed a lease yet. Once they're approved and signed, you can convert them to an active Tenant.
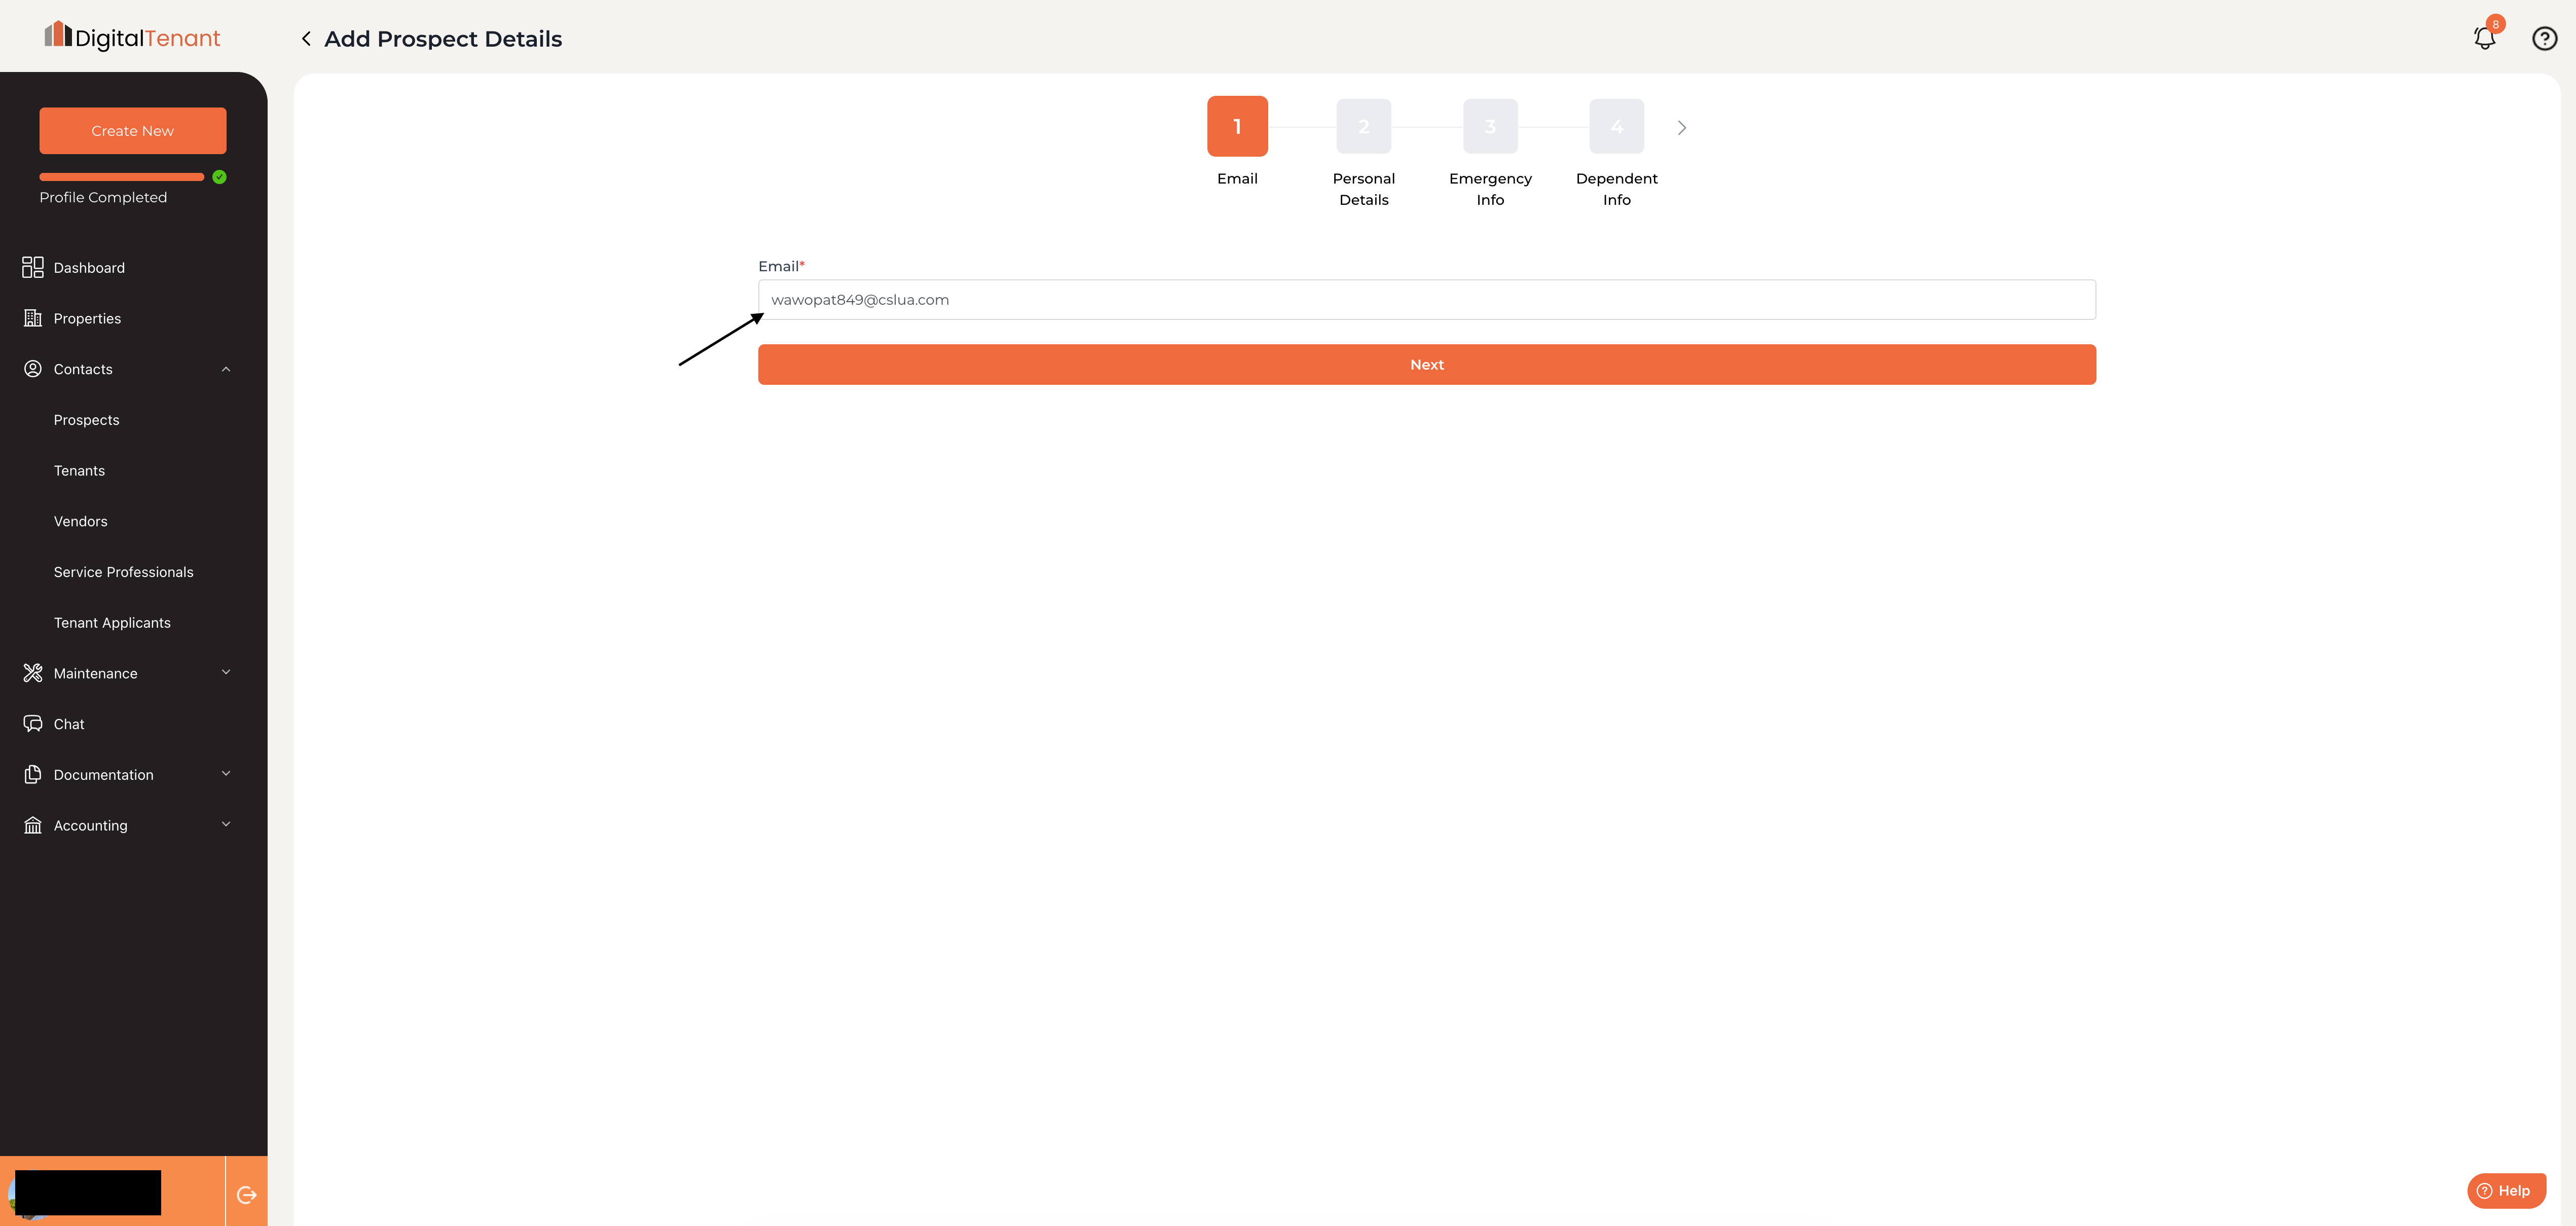
3. Step 1 — Enter Email
The wizard starts with a single required field: the prospect's Email address. This is used as their unique identifier in the system.
Enter their email address, then click Next.
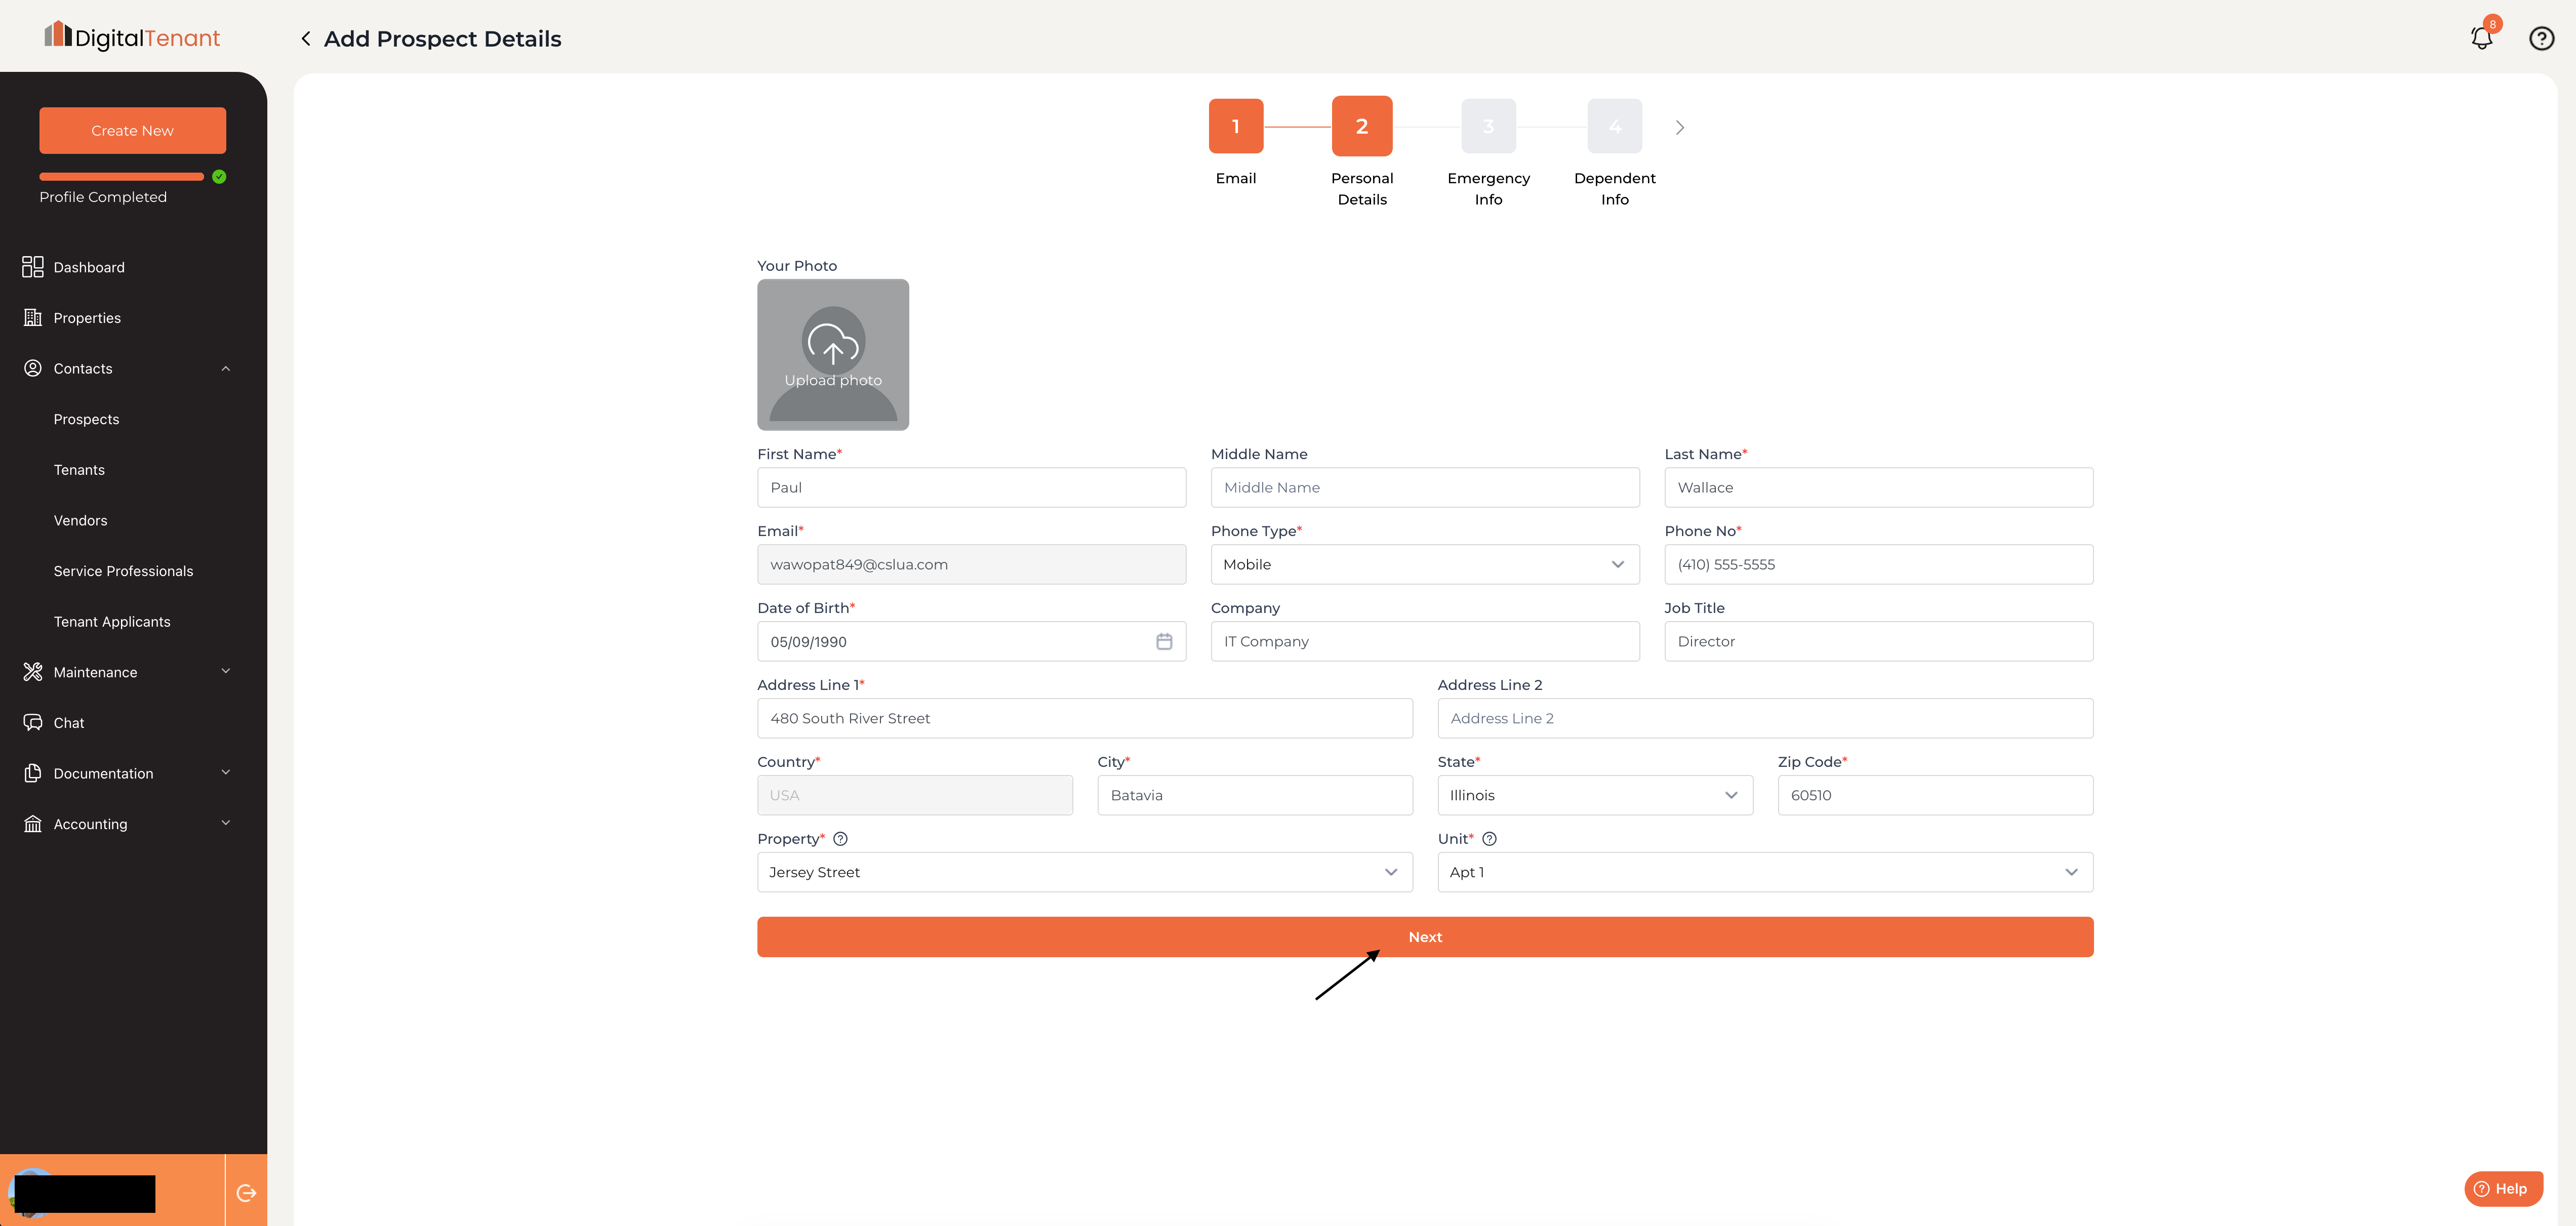
4. Step 2 — Enter Personal Details
Fill in the prospect's personal information:
- First Name / Middle Name / Last Name
- Phone Type and Phone Number
- Date of Birth
- Company and Job Title (optional)
- Address Line 1 — Street address
- Address Line 2 — Apartment or unit (optional)
- Country, City, State
- Property — Select the property they are applying for
- Unit — Select the specific unit
Click Next to continue.
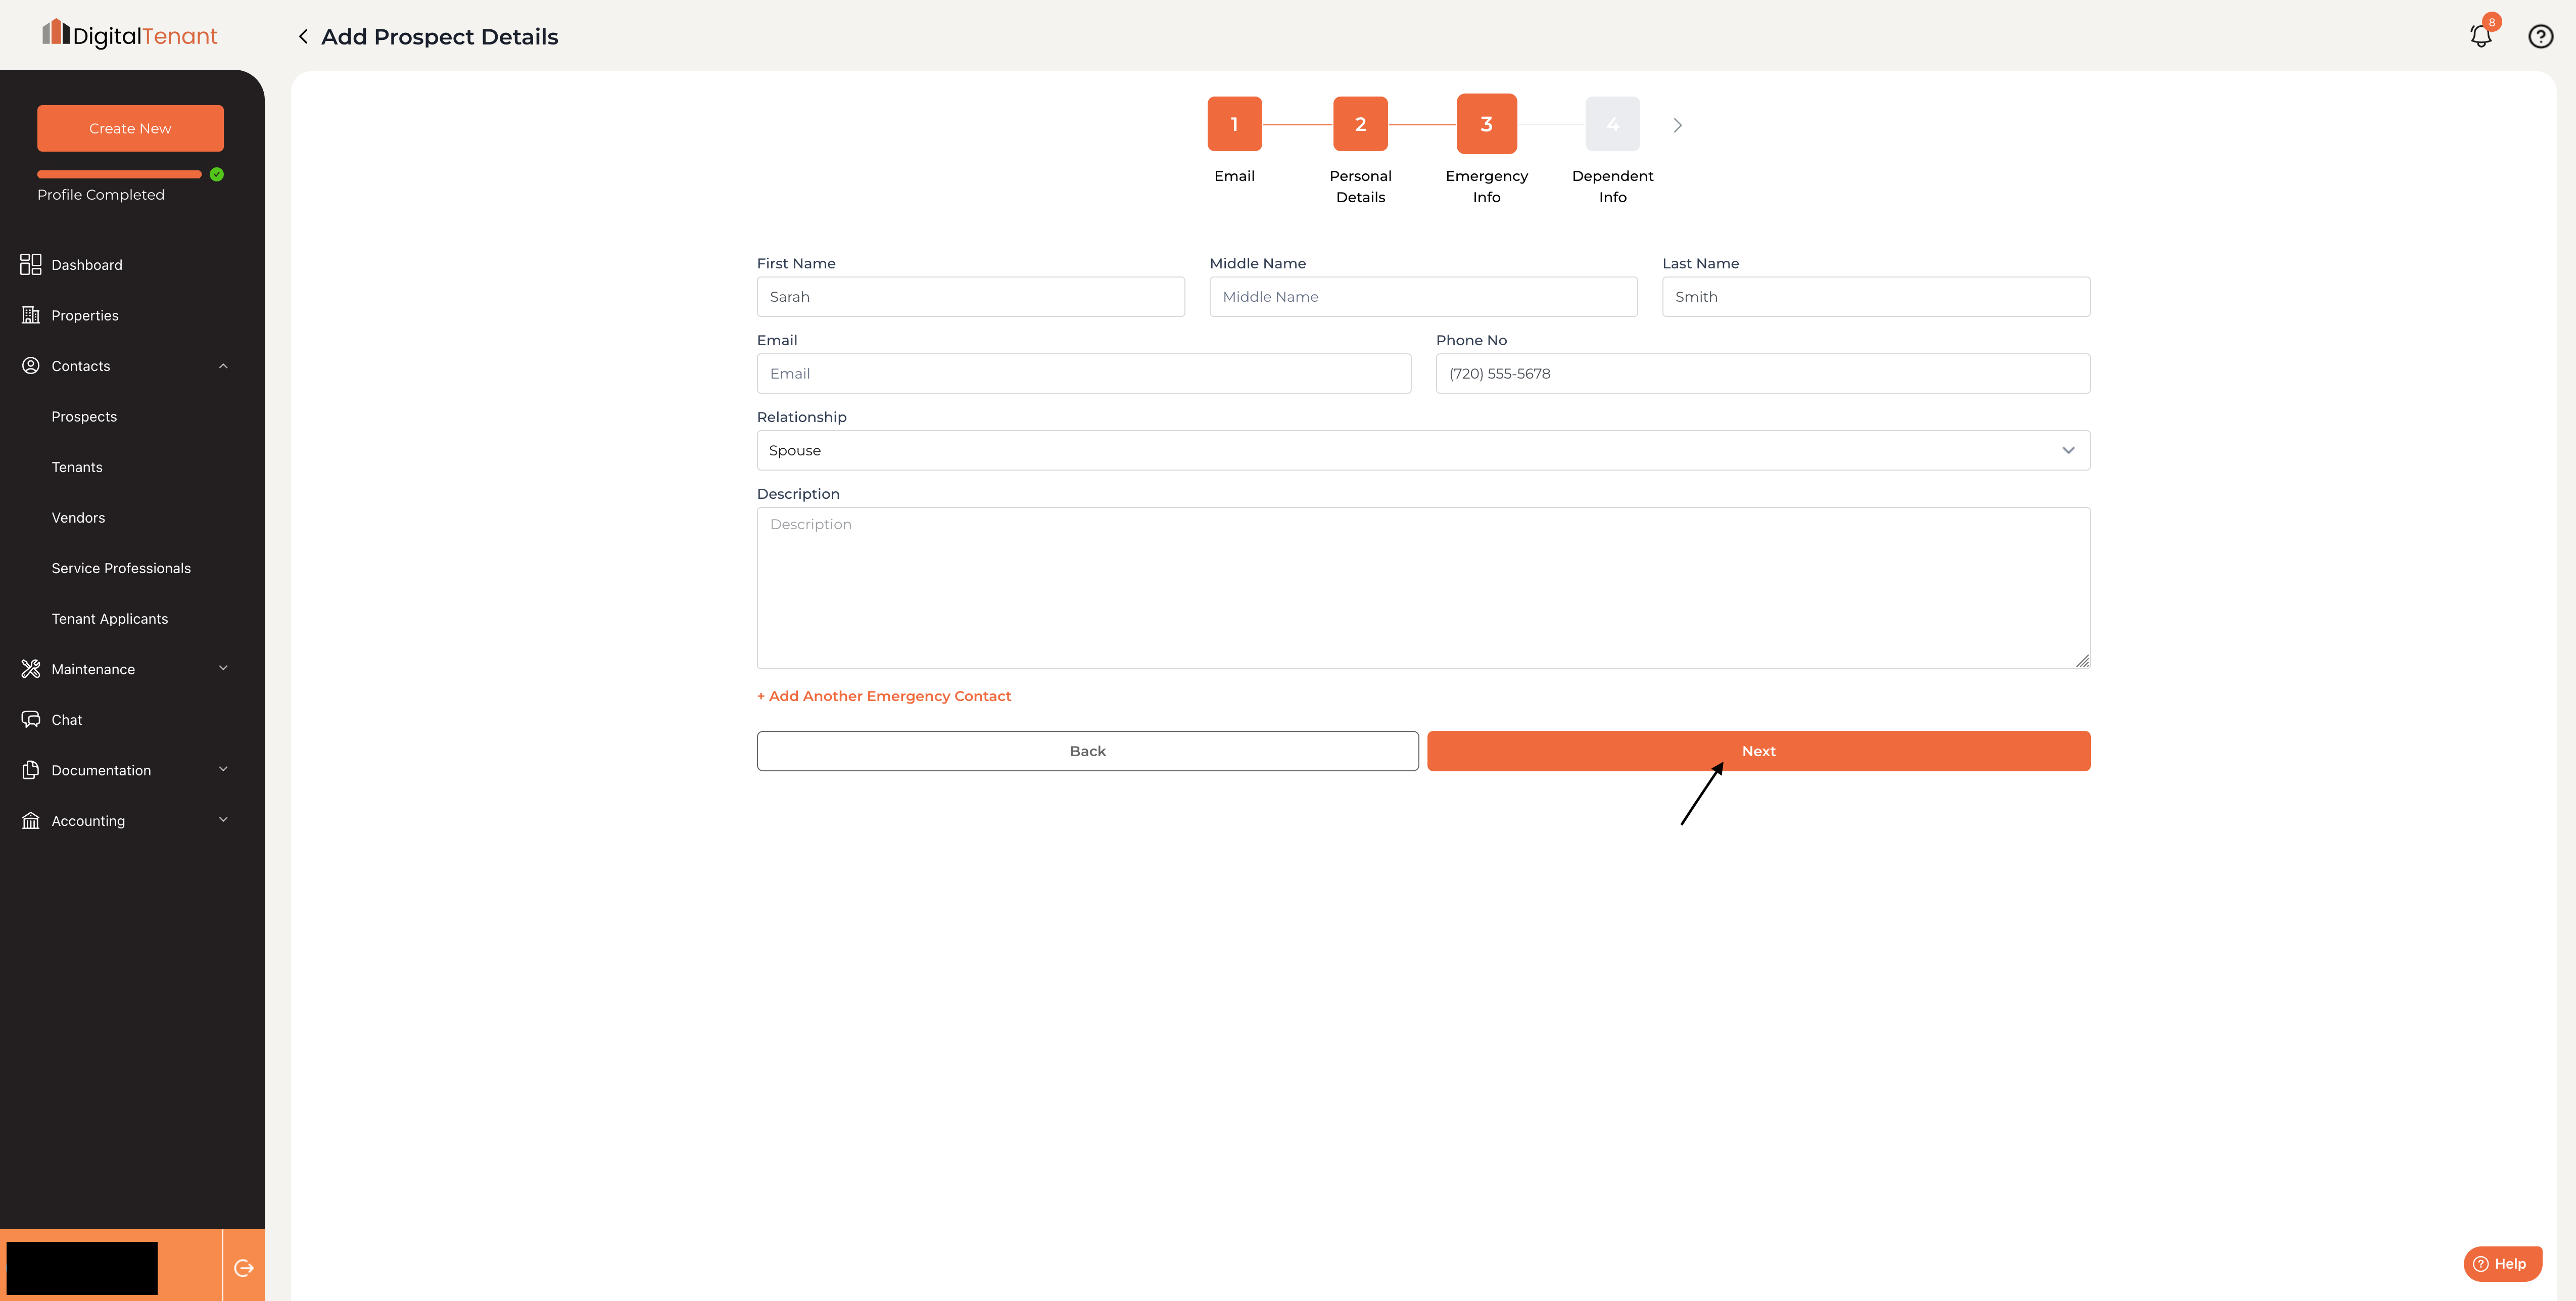
5. Step 3 — Emergency Contact
💡 Steps 3 through 6 are optional at the prospect stage. You can skip through them and complete this information later once the prospect converts to an active tenant.
If you have the prospect's emergency contact information, enter their name, relationship, and phone number here. Click Add Another Emergency Contact to add more than one.
If you don't have this yet, leave it blank and click Next.
6. Step 4 — Dependent Information
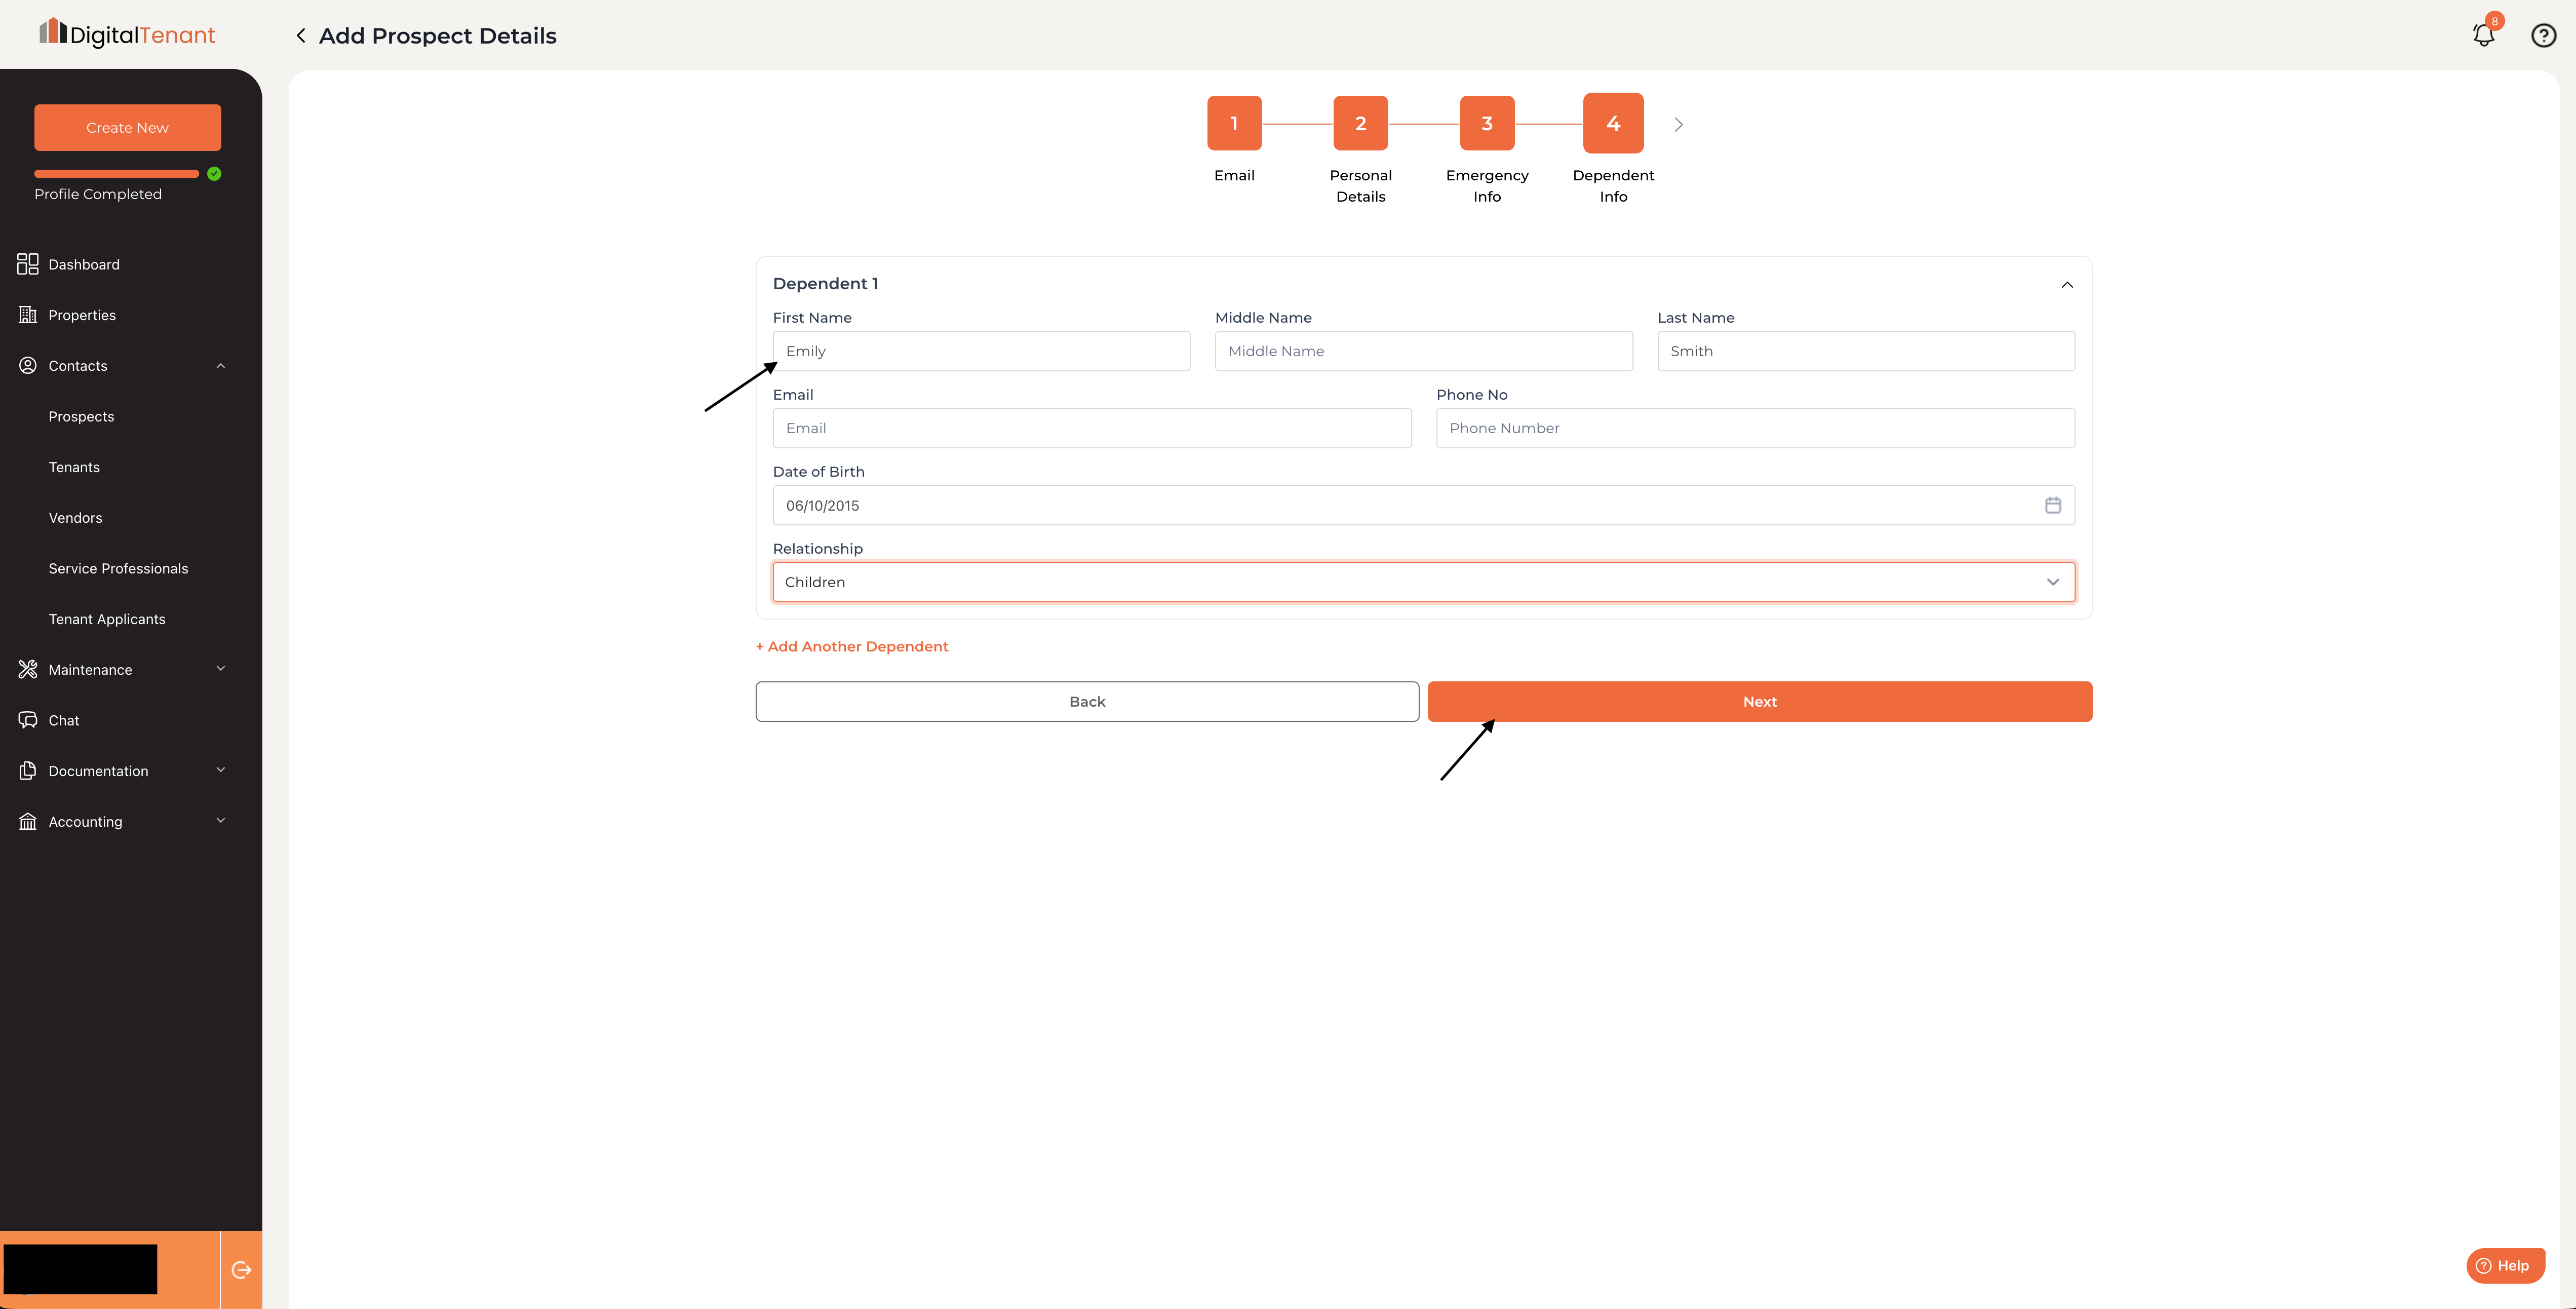
If the prospect has dependents who will be living at the property, add them here. For each dependent enter their name, date of birth, and relationship. Click Add Another Dependent to add more.
If there are no dependents, leave this section blank and click Next.
7. Step 5 — Pet Information
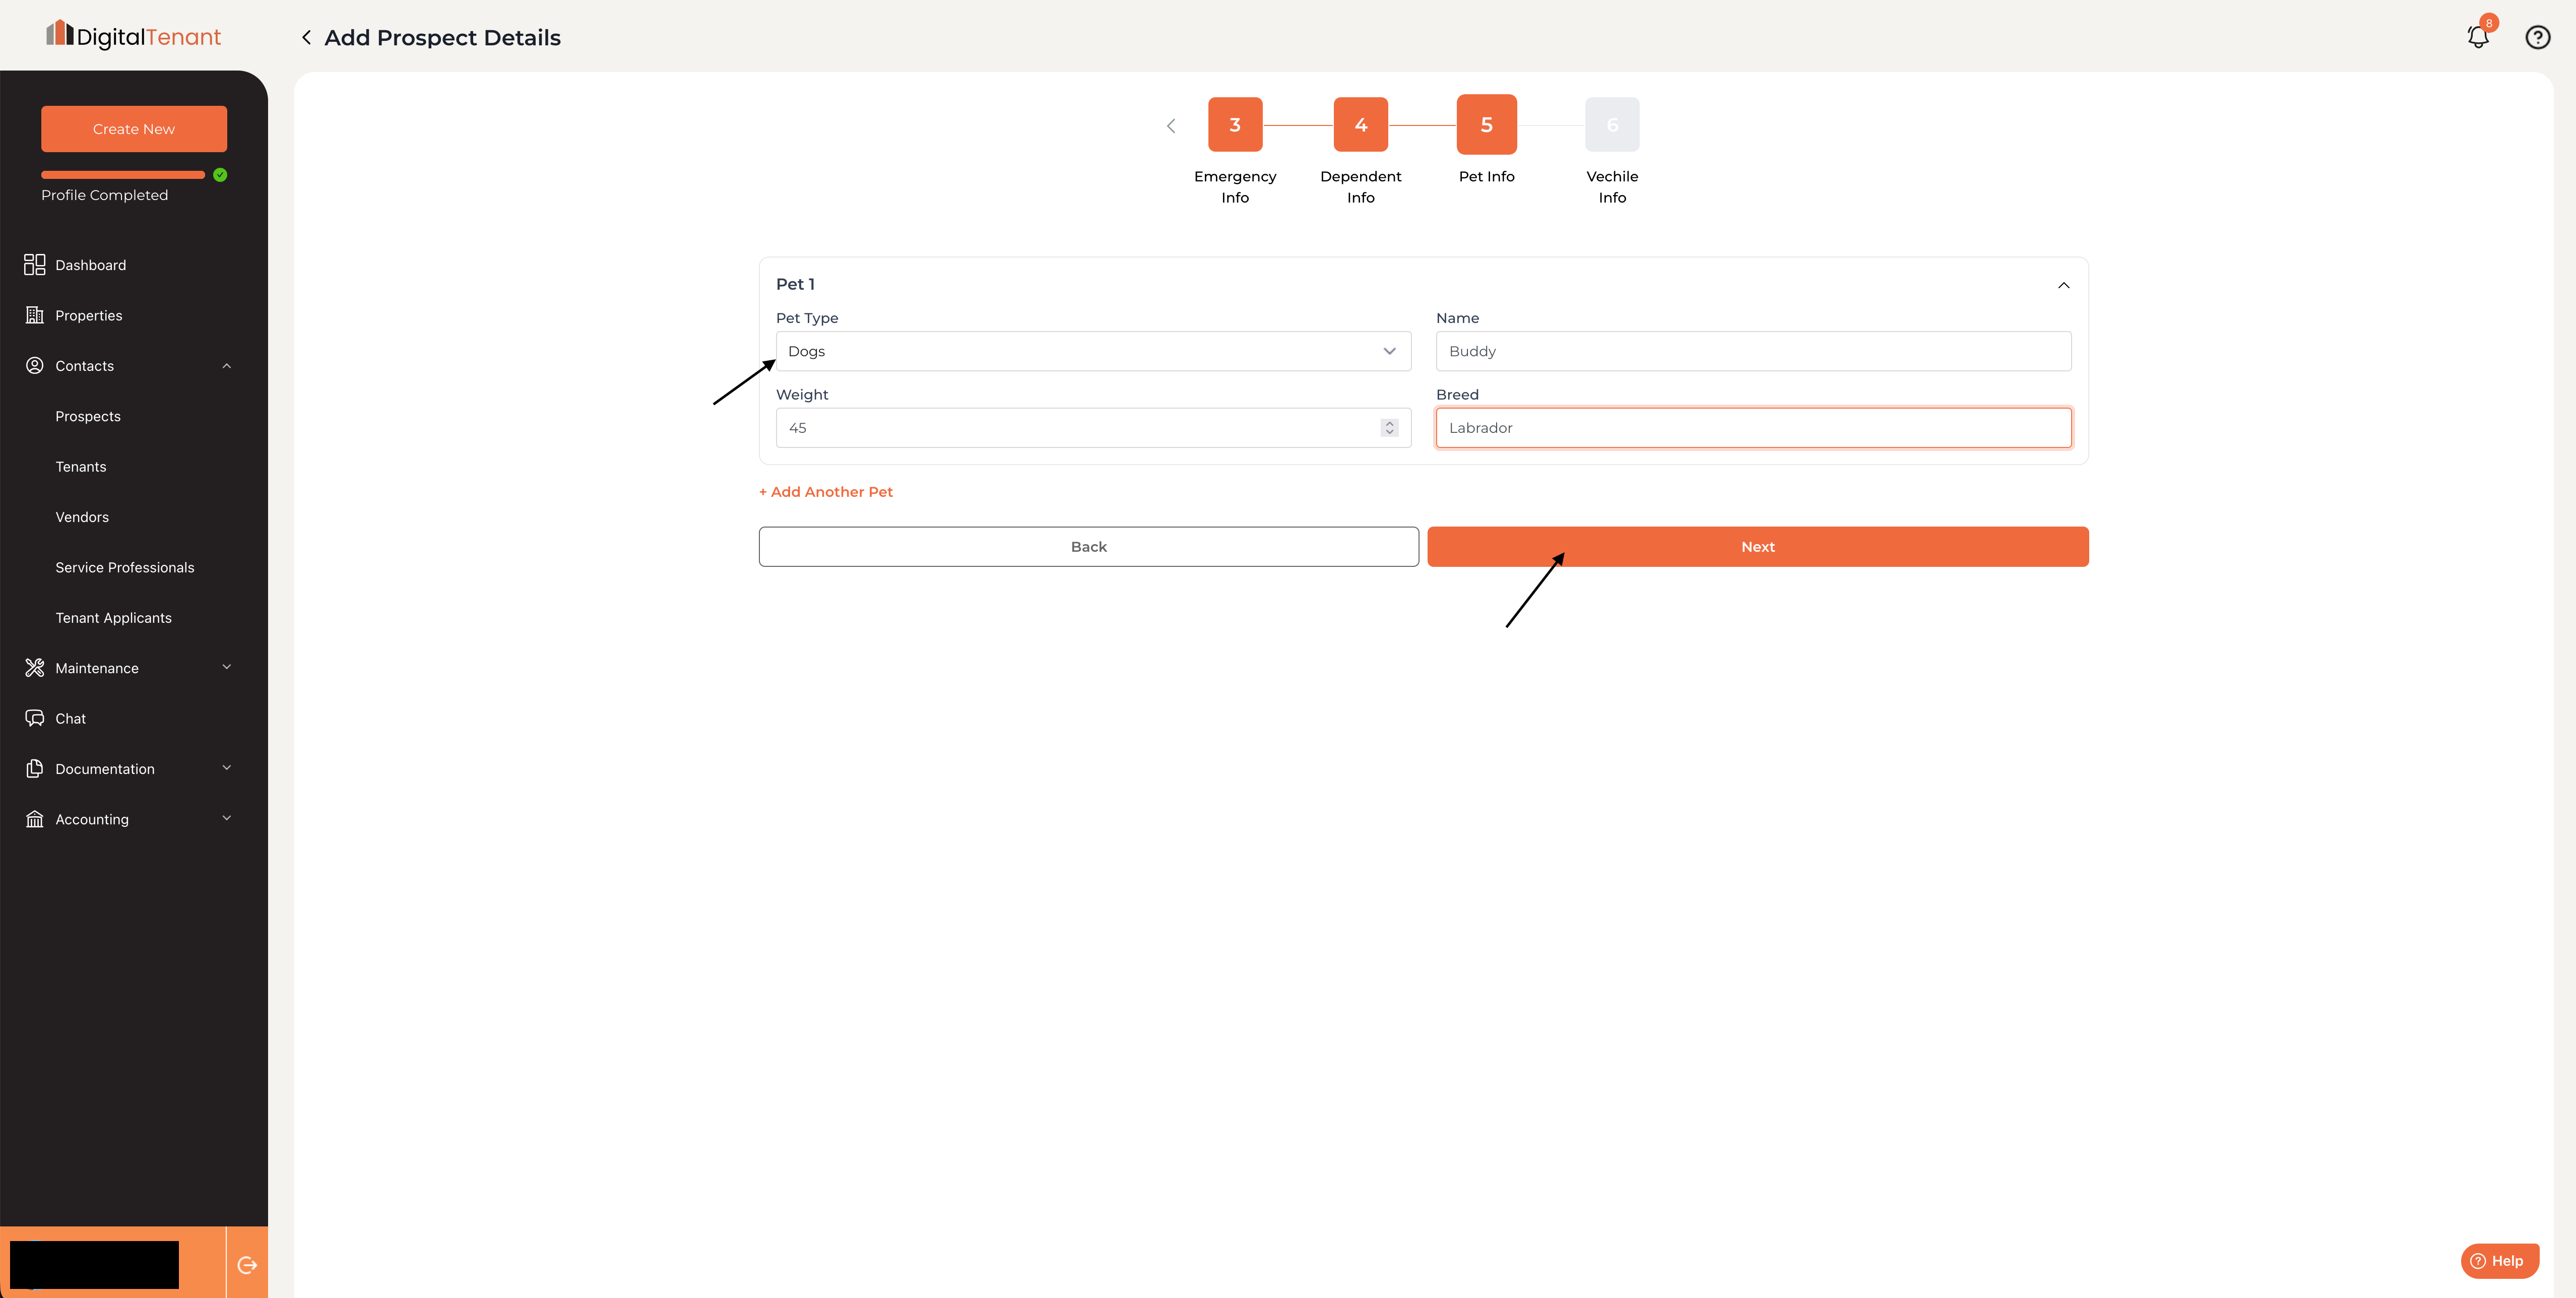
If the prospect has pets, enter the details here including pet type, name, and breed. Click Add Another Pet to add more.
If there are no pets, leave this section blank and click Next.
8. Step 6 — Vehicle Information
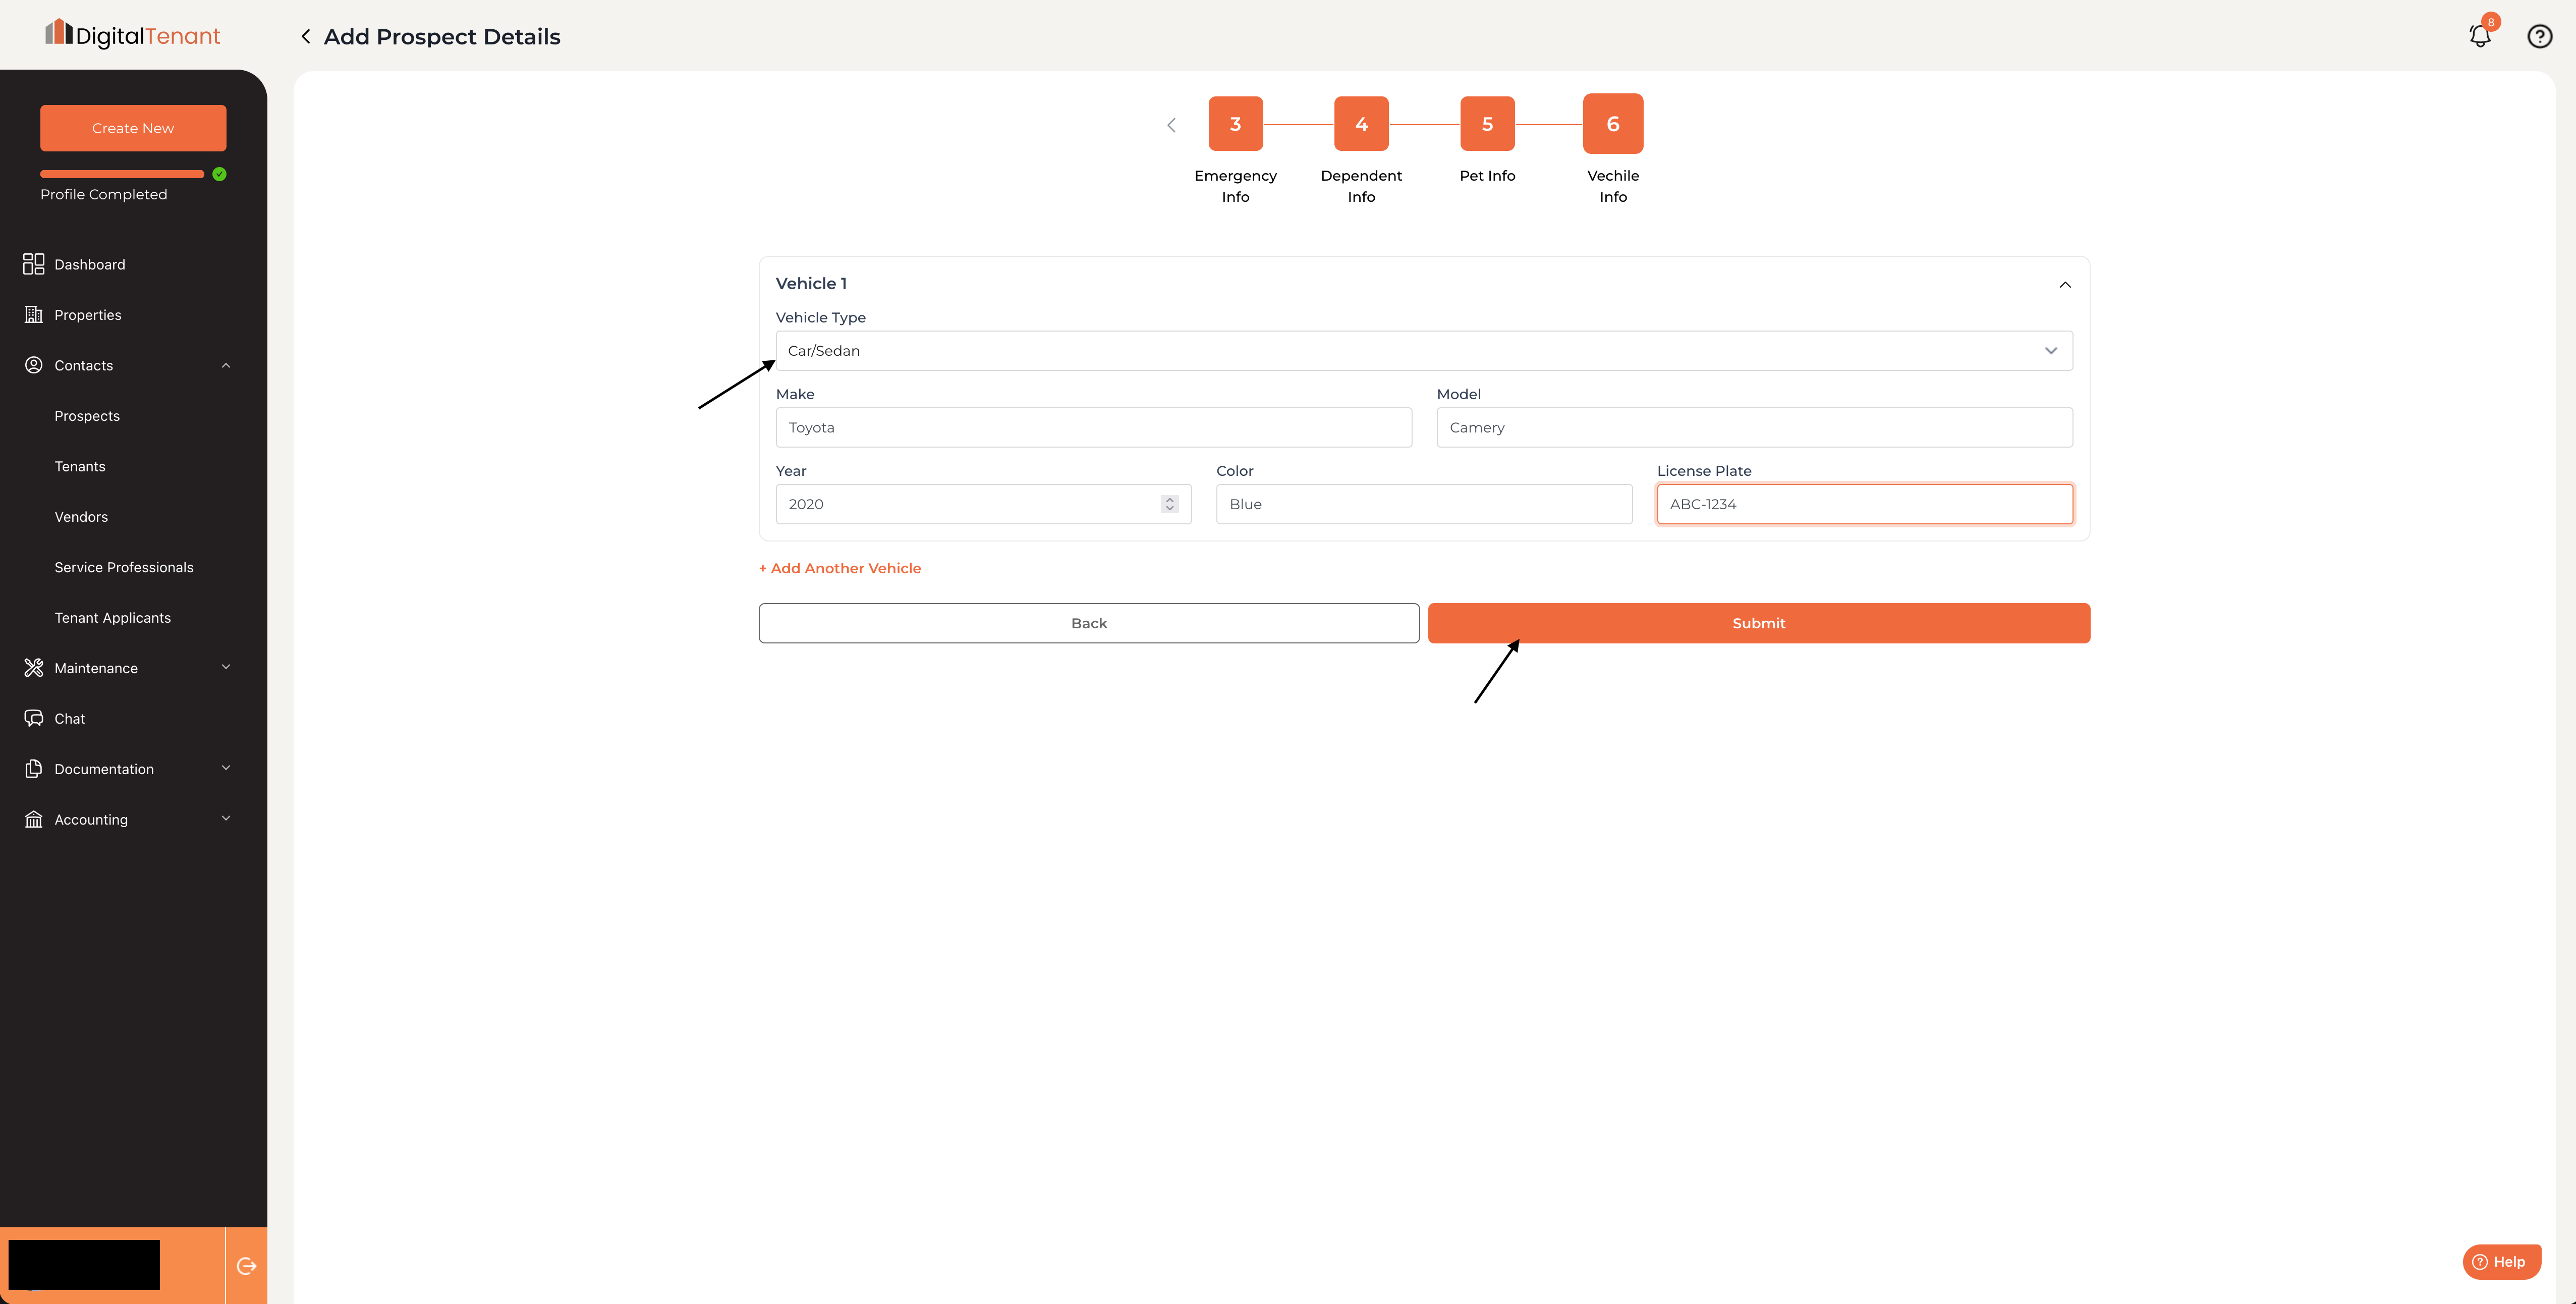
Enter vehicle details for any vehicles the prospect will be parking at the property — vehicle type, make, model, year, color, and license plate. Click Add Another Vehicle to add more.
Once complete, click Submit to finalize the prospect record.
What Happens Next
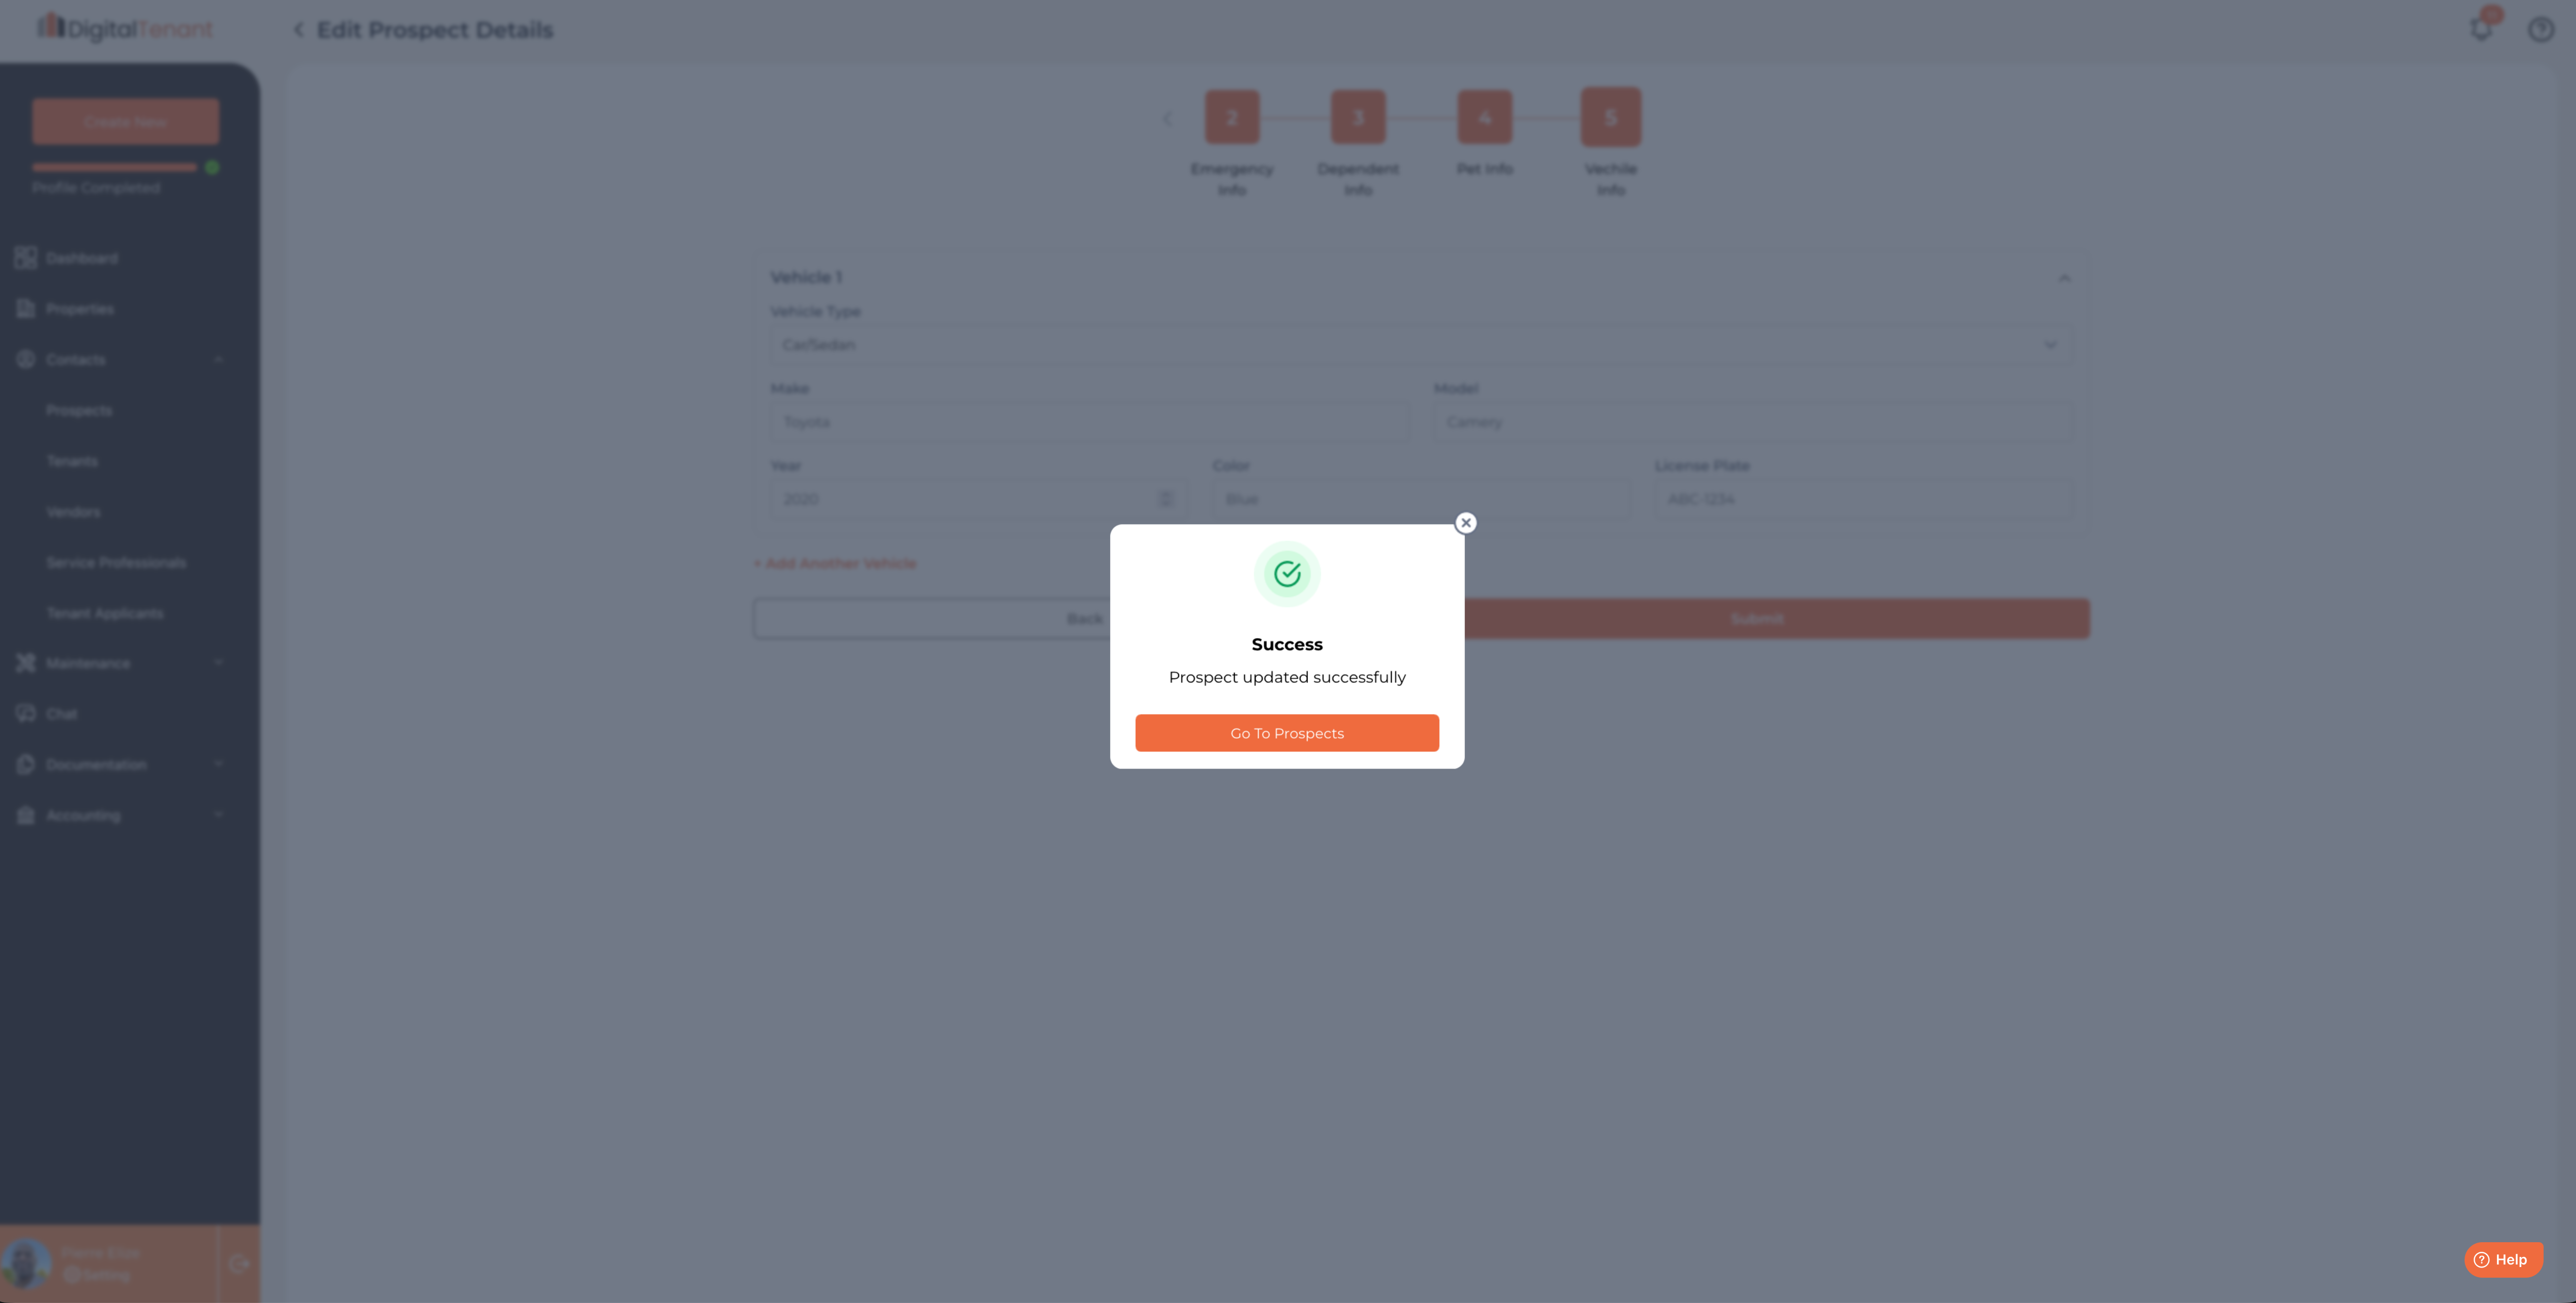
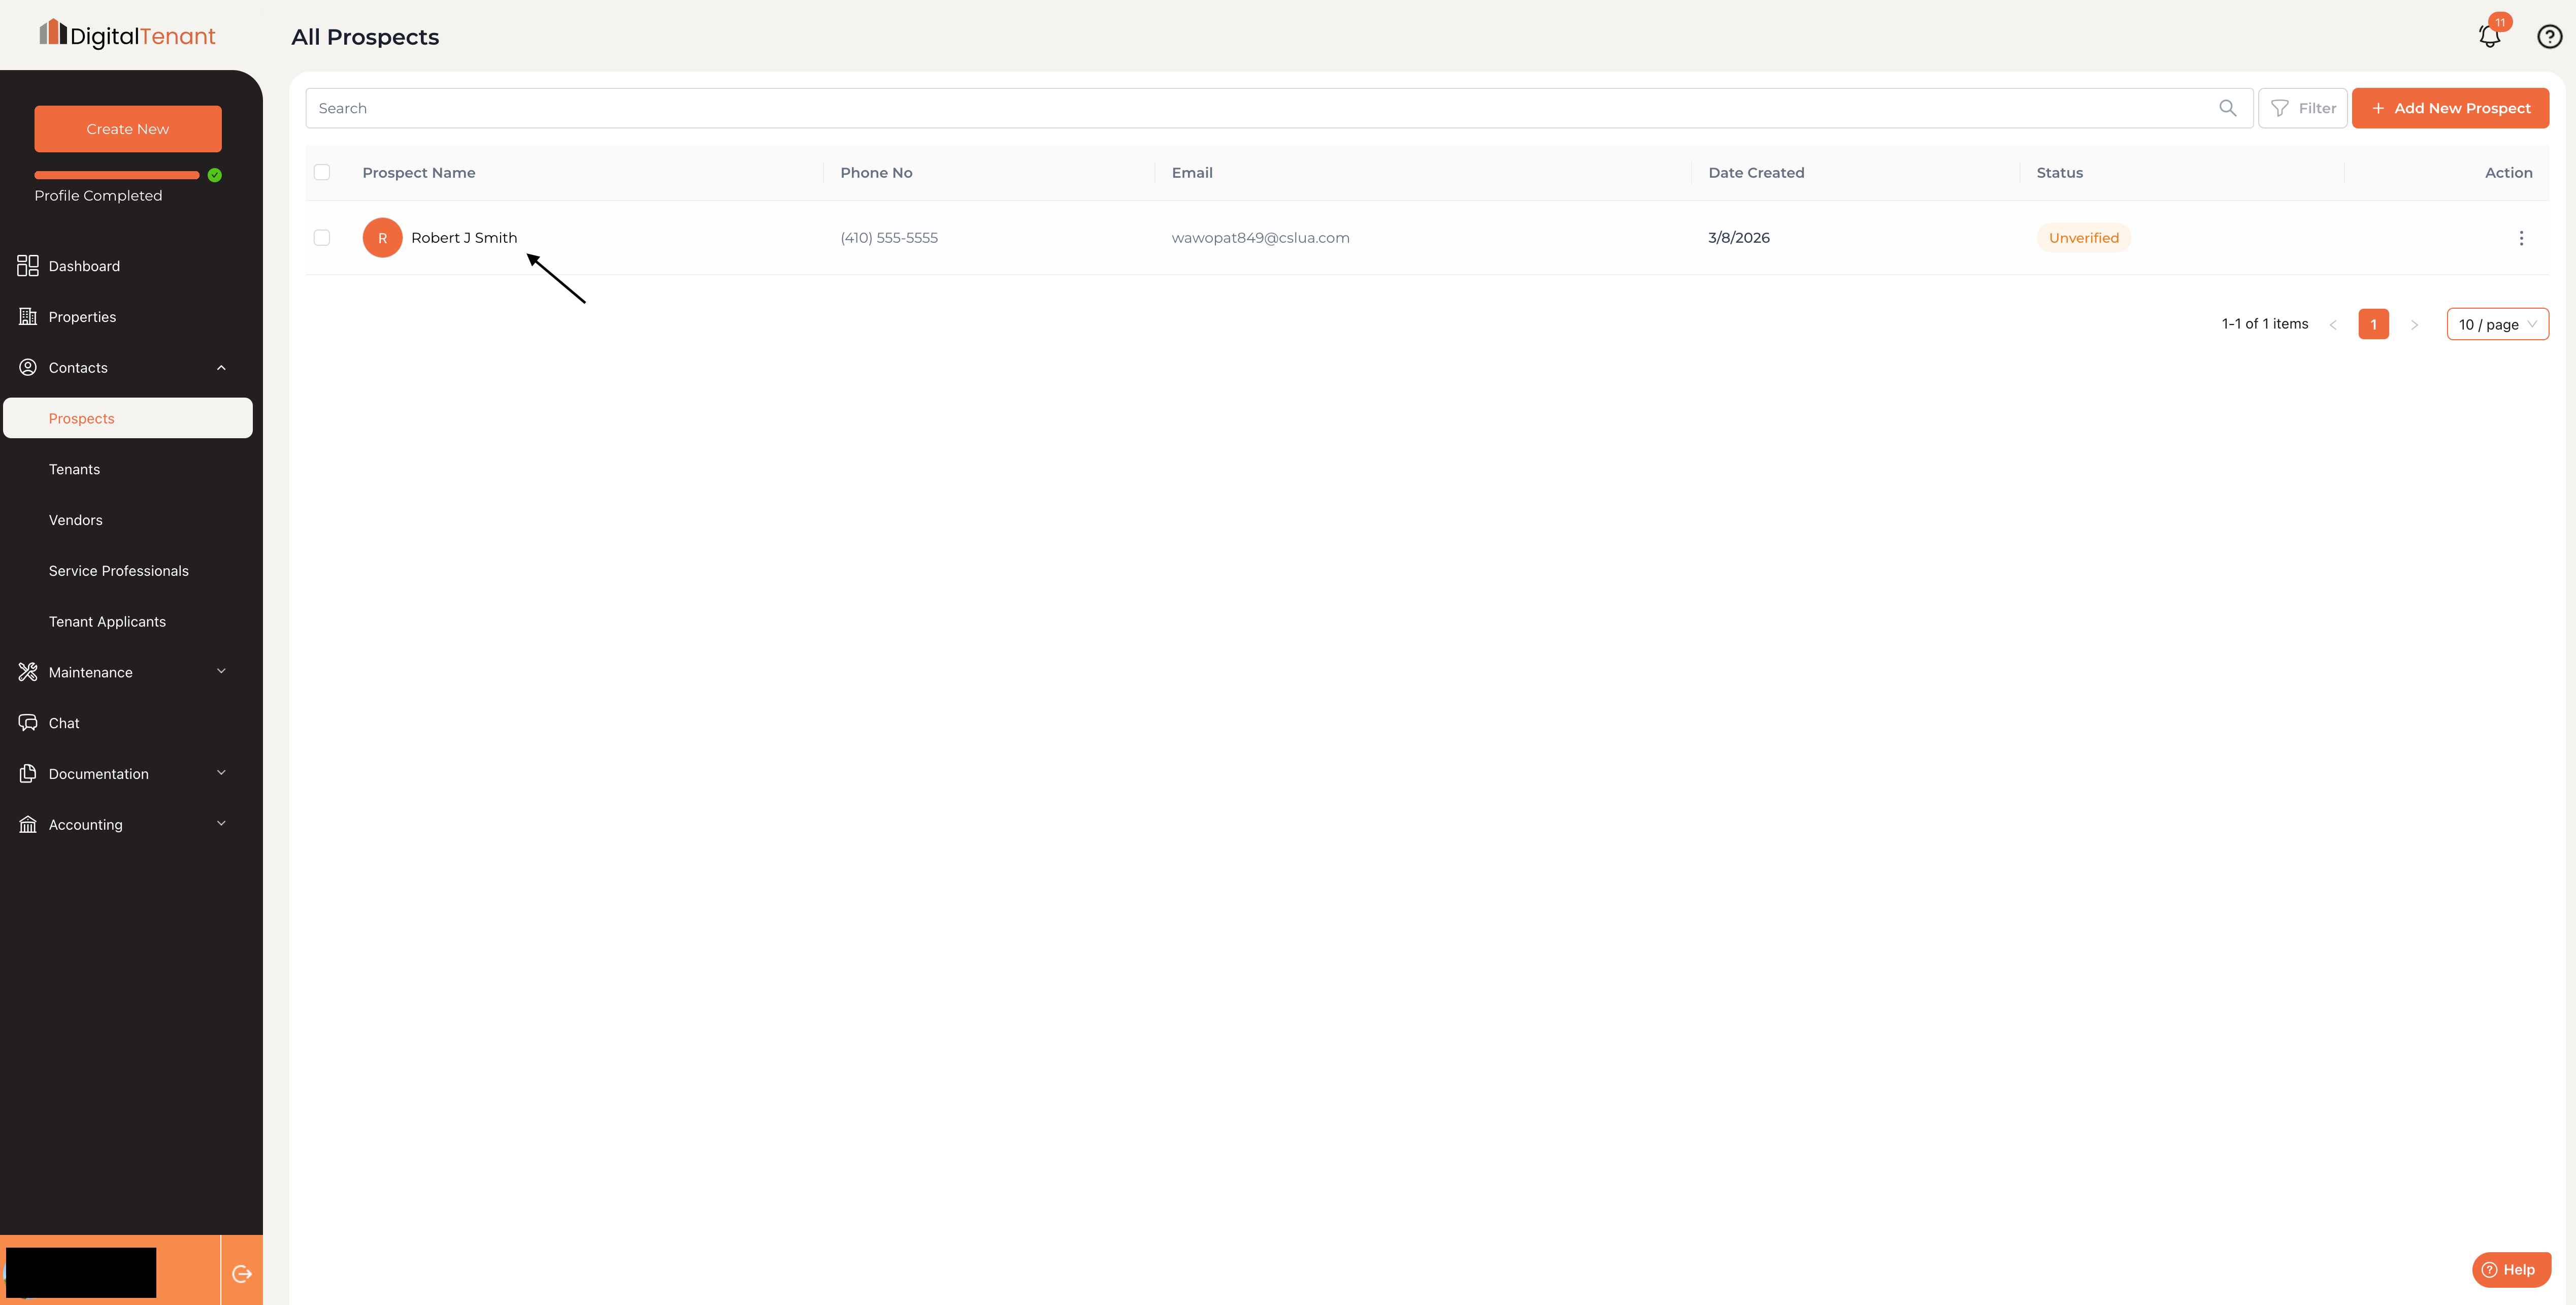
After submitting, you'll see a Success confirmation — "Prospect added successfully." Click Go To Prospect to view their full profile. From there you can:
- Review and edit their information at any time.
- Track their application status.
- Convert them to an active Tenant once approved and lease is signed.
💬 Still need help? Contact us at support@digitaltenant.com or use the Help button in the bottom-right corner of your dashboard.